Deploying WordPress on a server you own, in under ten minutes
Most managed WordPress hosting asks you to move in. Your site lives on their machine, in their account, at their price, and leaving means a migration.
This is the other arrangement: the server is yours, on your own cloud account, billed to you by DigitalOcean at DigitalOcean's price. Buddy creates it, installs WordPress on it and keeps it running. If you stop paying us, nothing moves — the site is a docker-compose project on a machine you already own.
Here is the whole thing, start to finish. Everything below is a screenshot of the real product, taken while writing this.
1. Connect a cloud account
Buddy needs a token to create servers on your behalf. Before you paste one, the page says what it can and cannot do — including the two things people actually worry about: the token never reaches your servers, and Buddy will not delete anything it did not create.
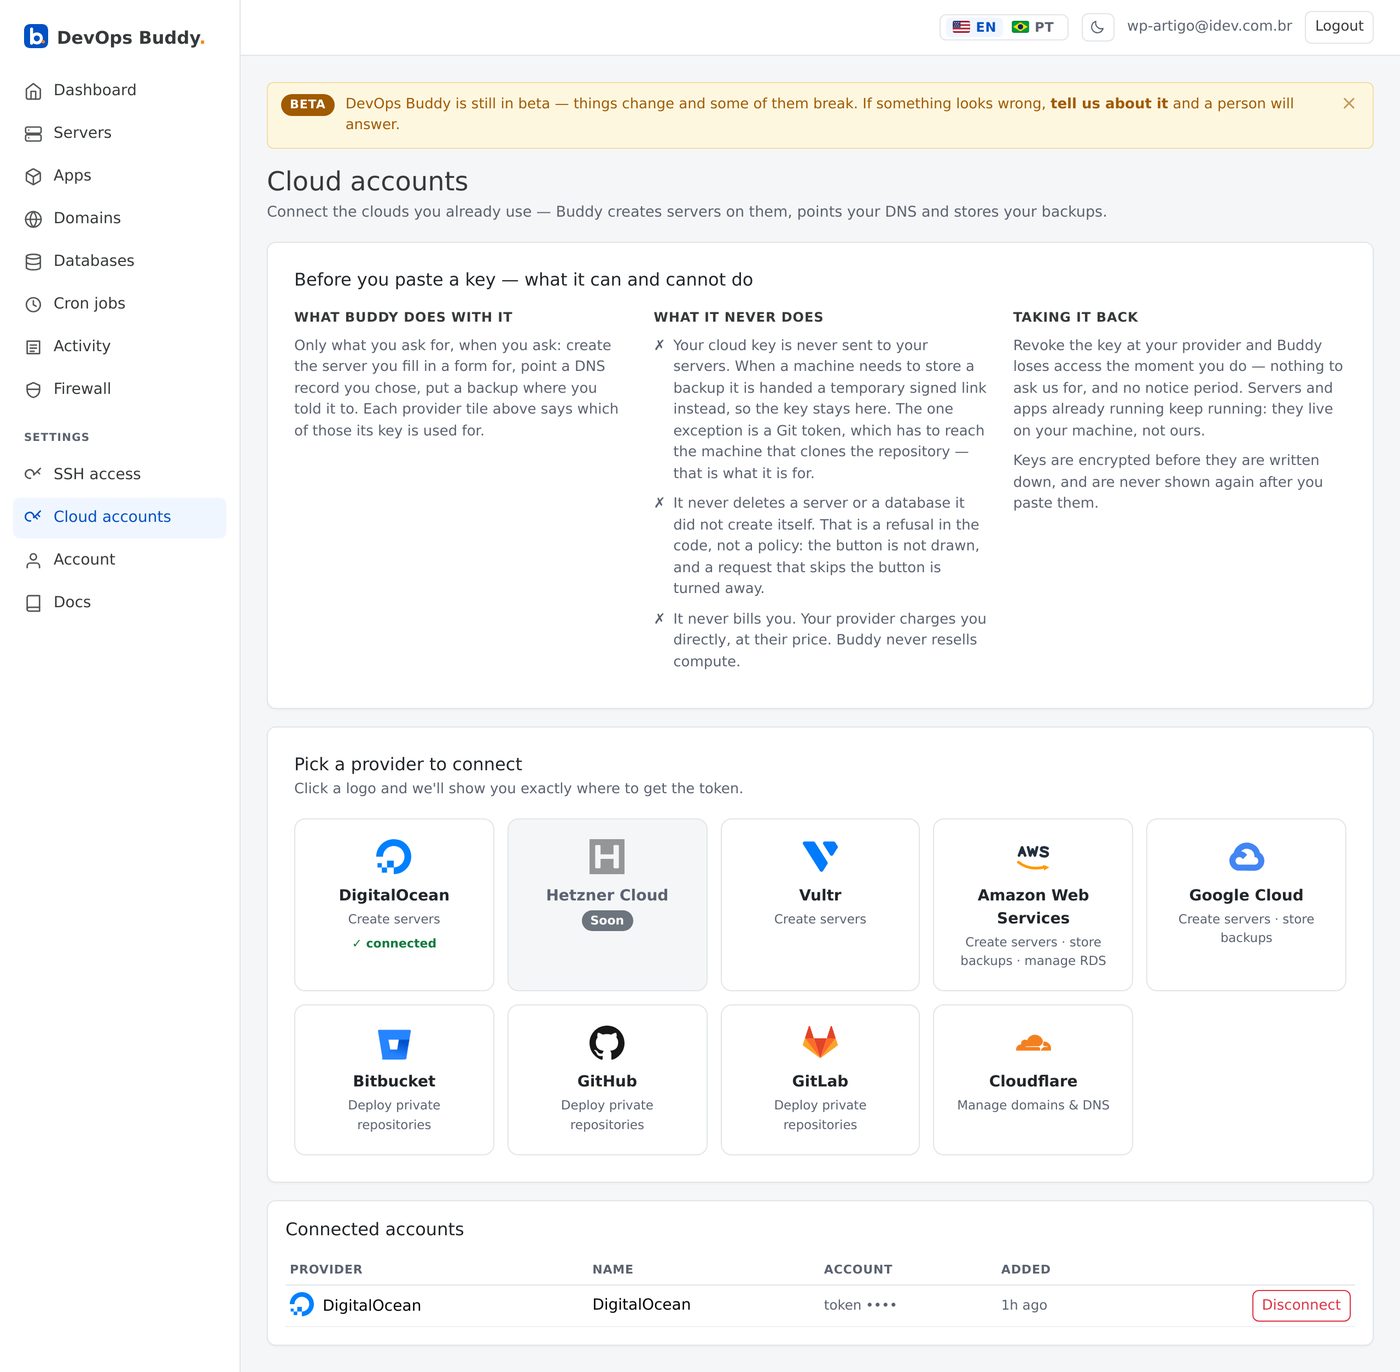
Click a provider and it tells you exactly where the token lives, which scopes it needs, and which console page to open. For DigitalOcean it is API → Tokens → Generate New Token.
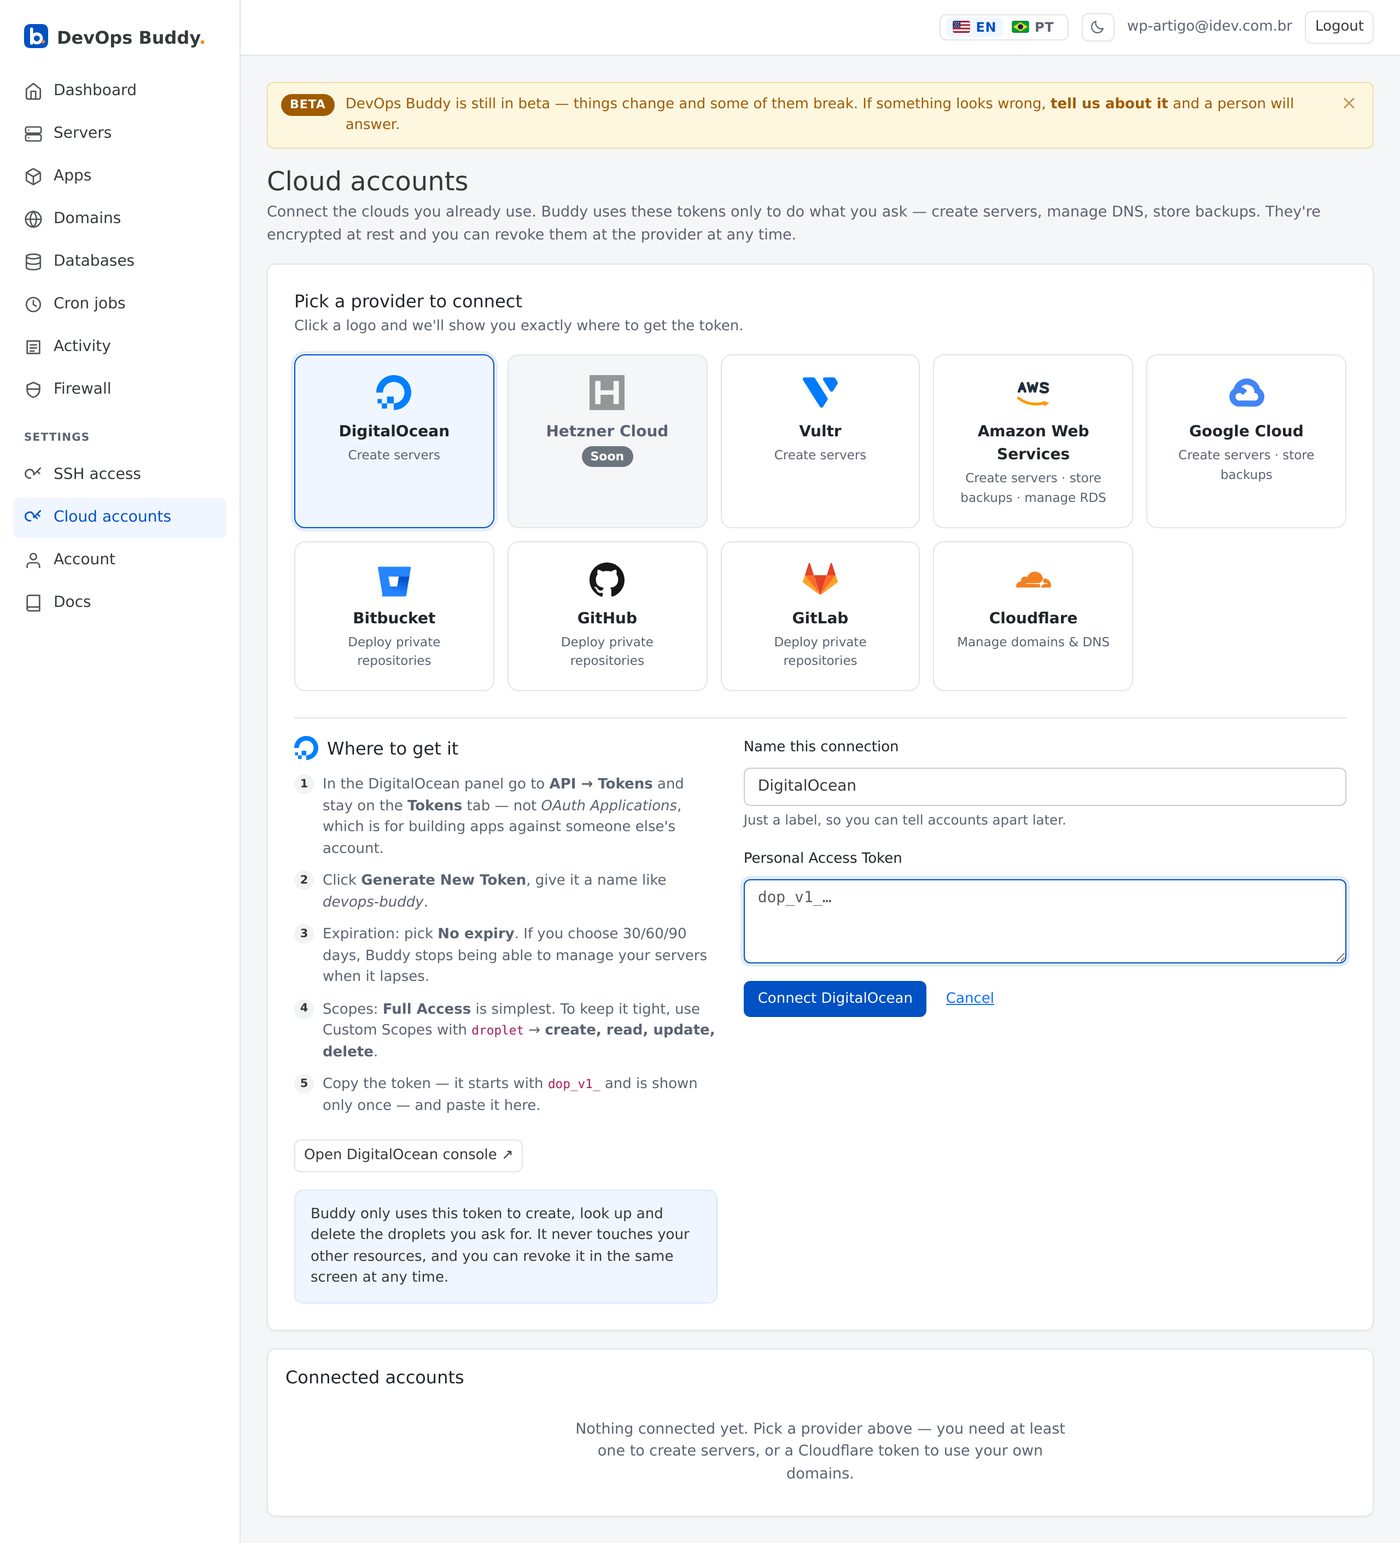
2. Create the server
Pick a region and a size. This is your droplet, on your account — Buddy adds no markup to it.
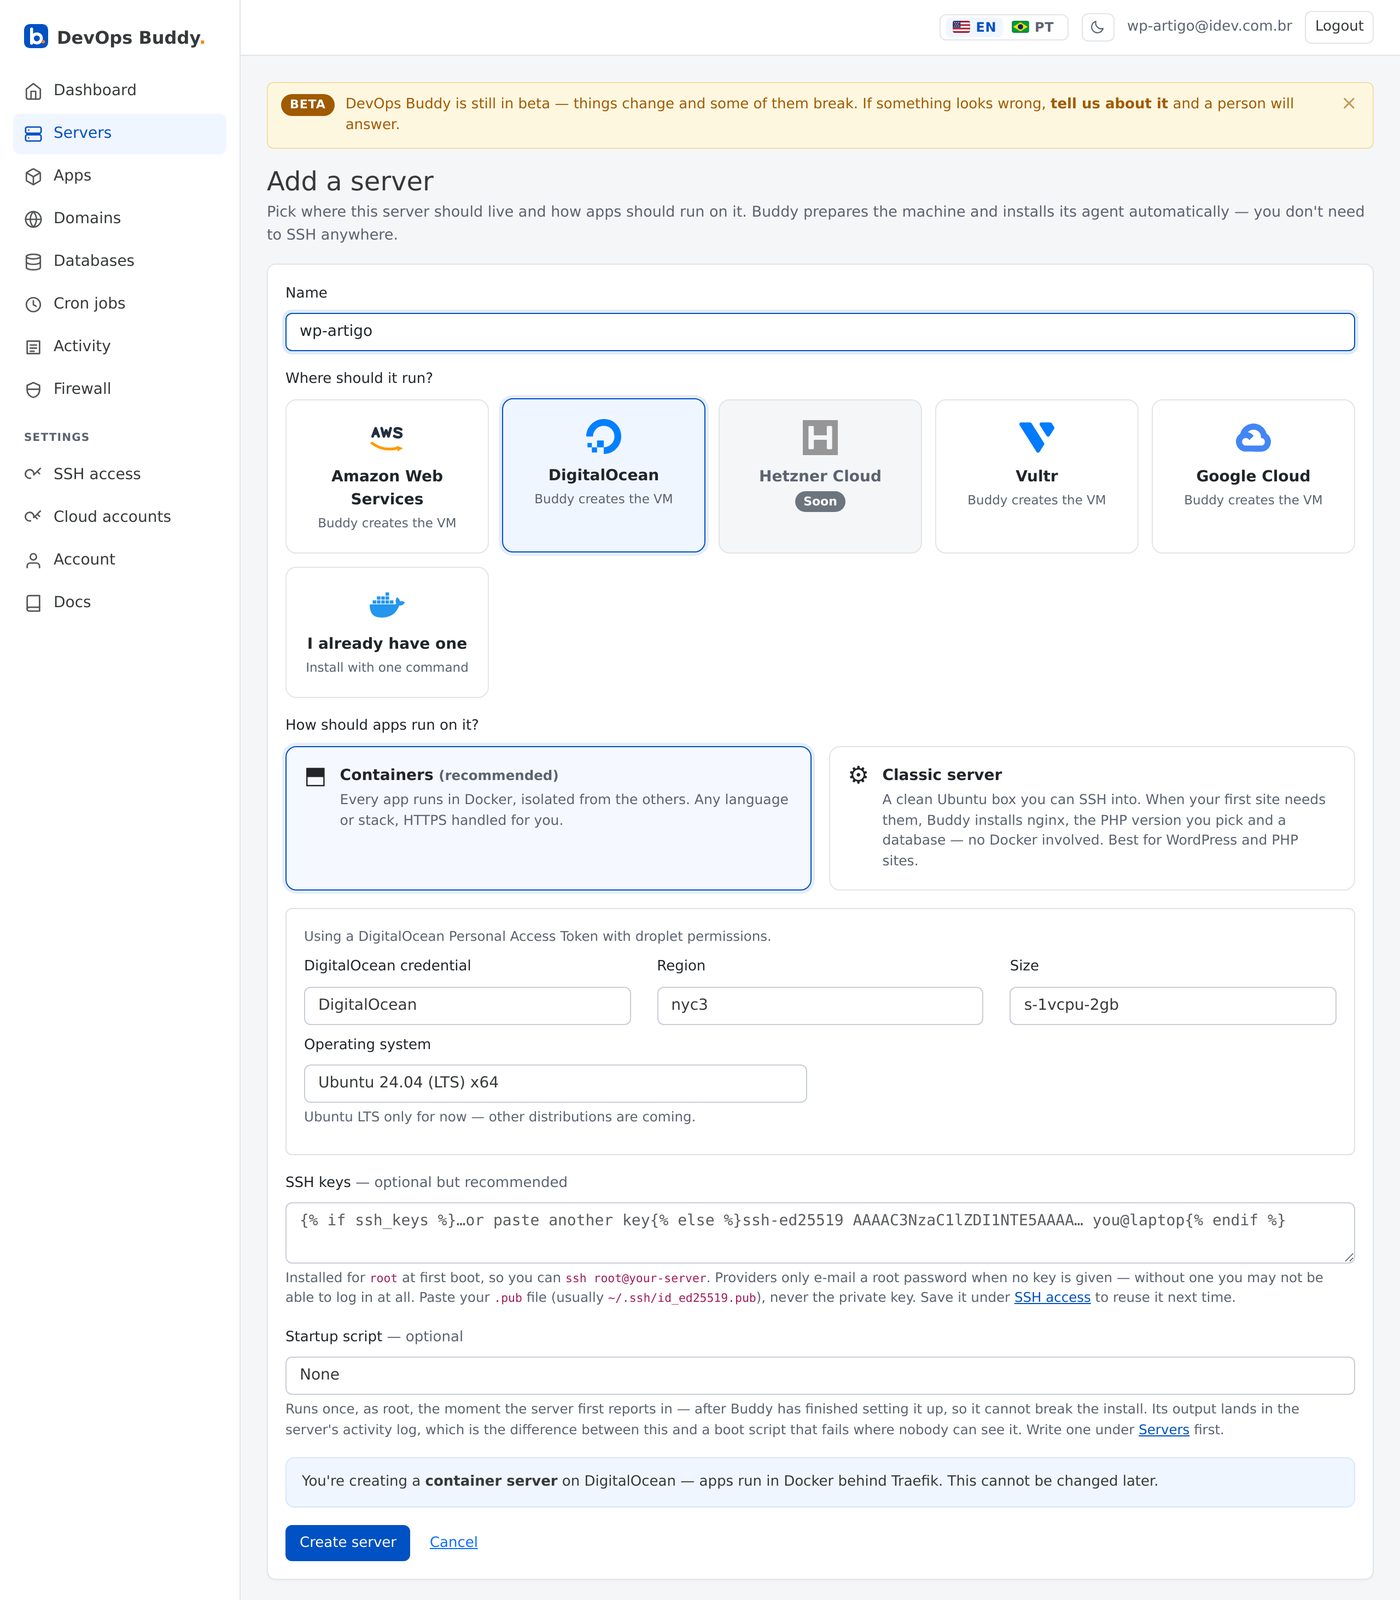
On first boot the machine installs Docker, Traefik for HTTPS, Nixpacks for Git builds, and the Buddy agent. It took just under two minutes to report in.
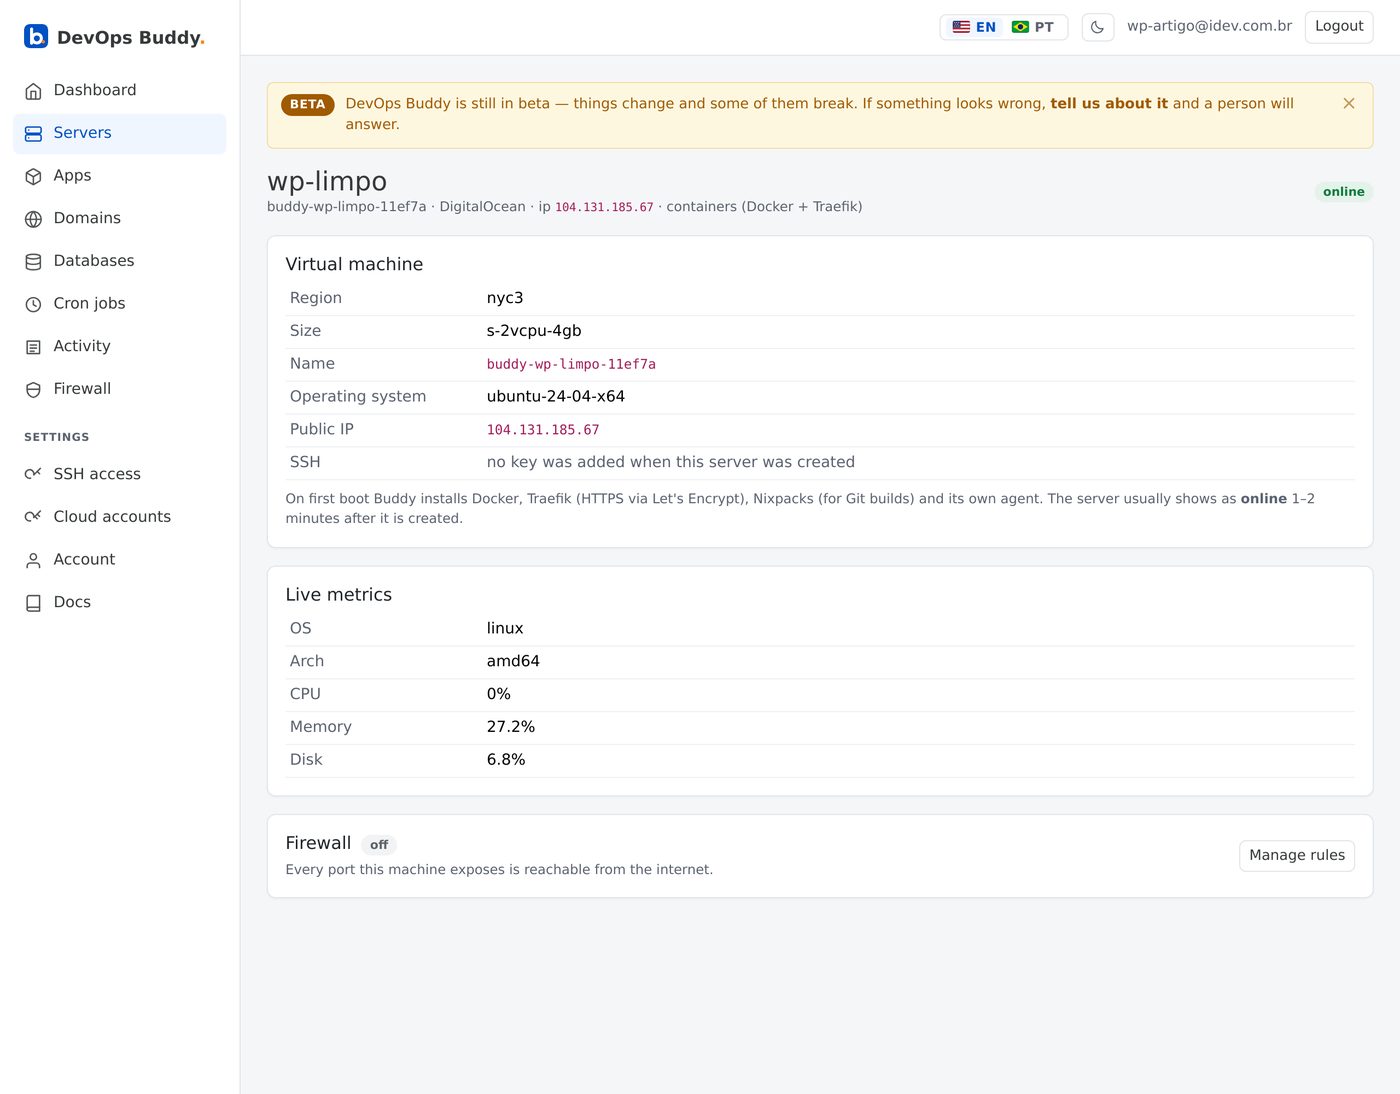
The agent polls outward over HTTPS. There is no management port open on your server and no SSH key of ours on it.
3. Pick WordPress
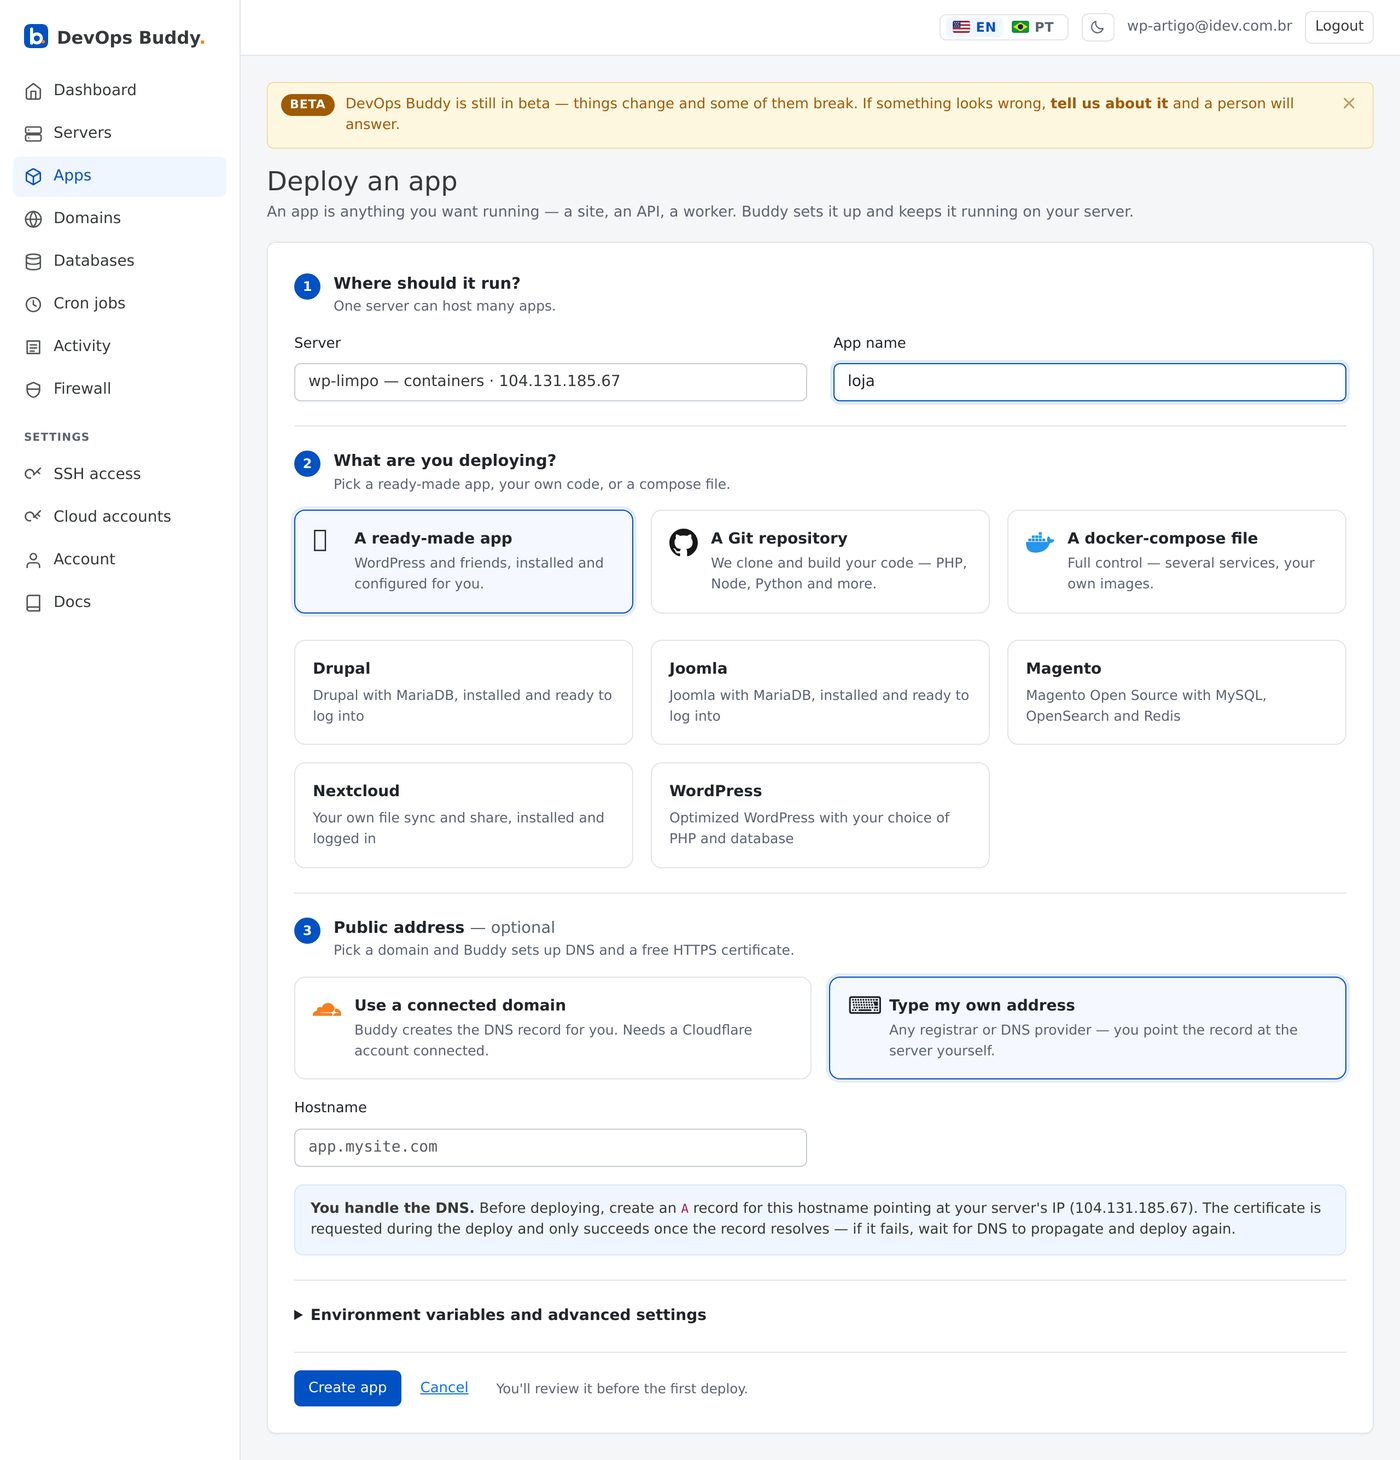
This is the part that is easy to miss. You do not need a Git repository or a Dockerfile — WordPress, Drupal, Joomla, Magento and Nextcloud are ready to install, with their database and admin account set up for you.
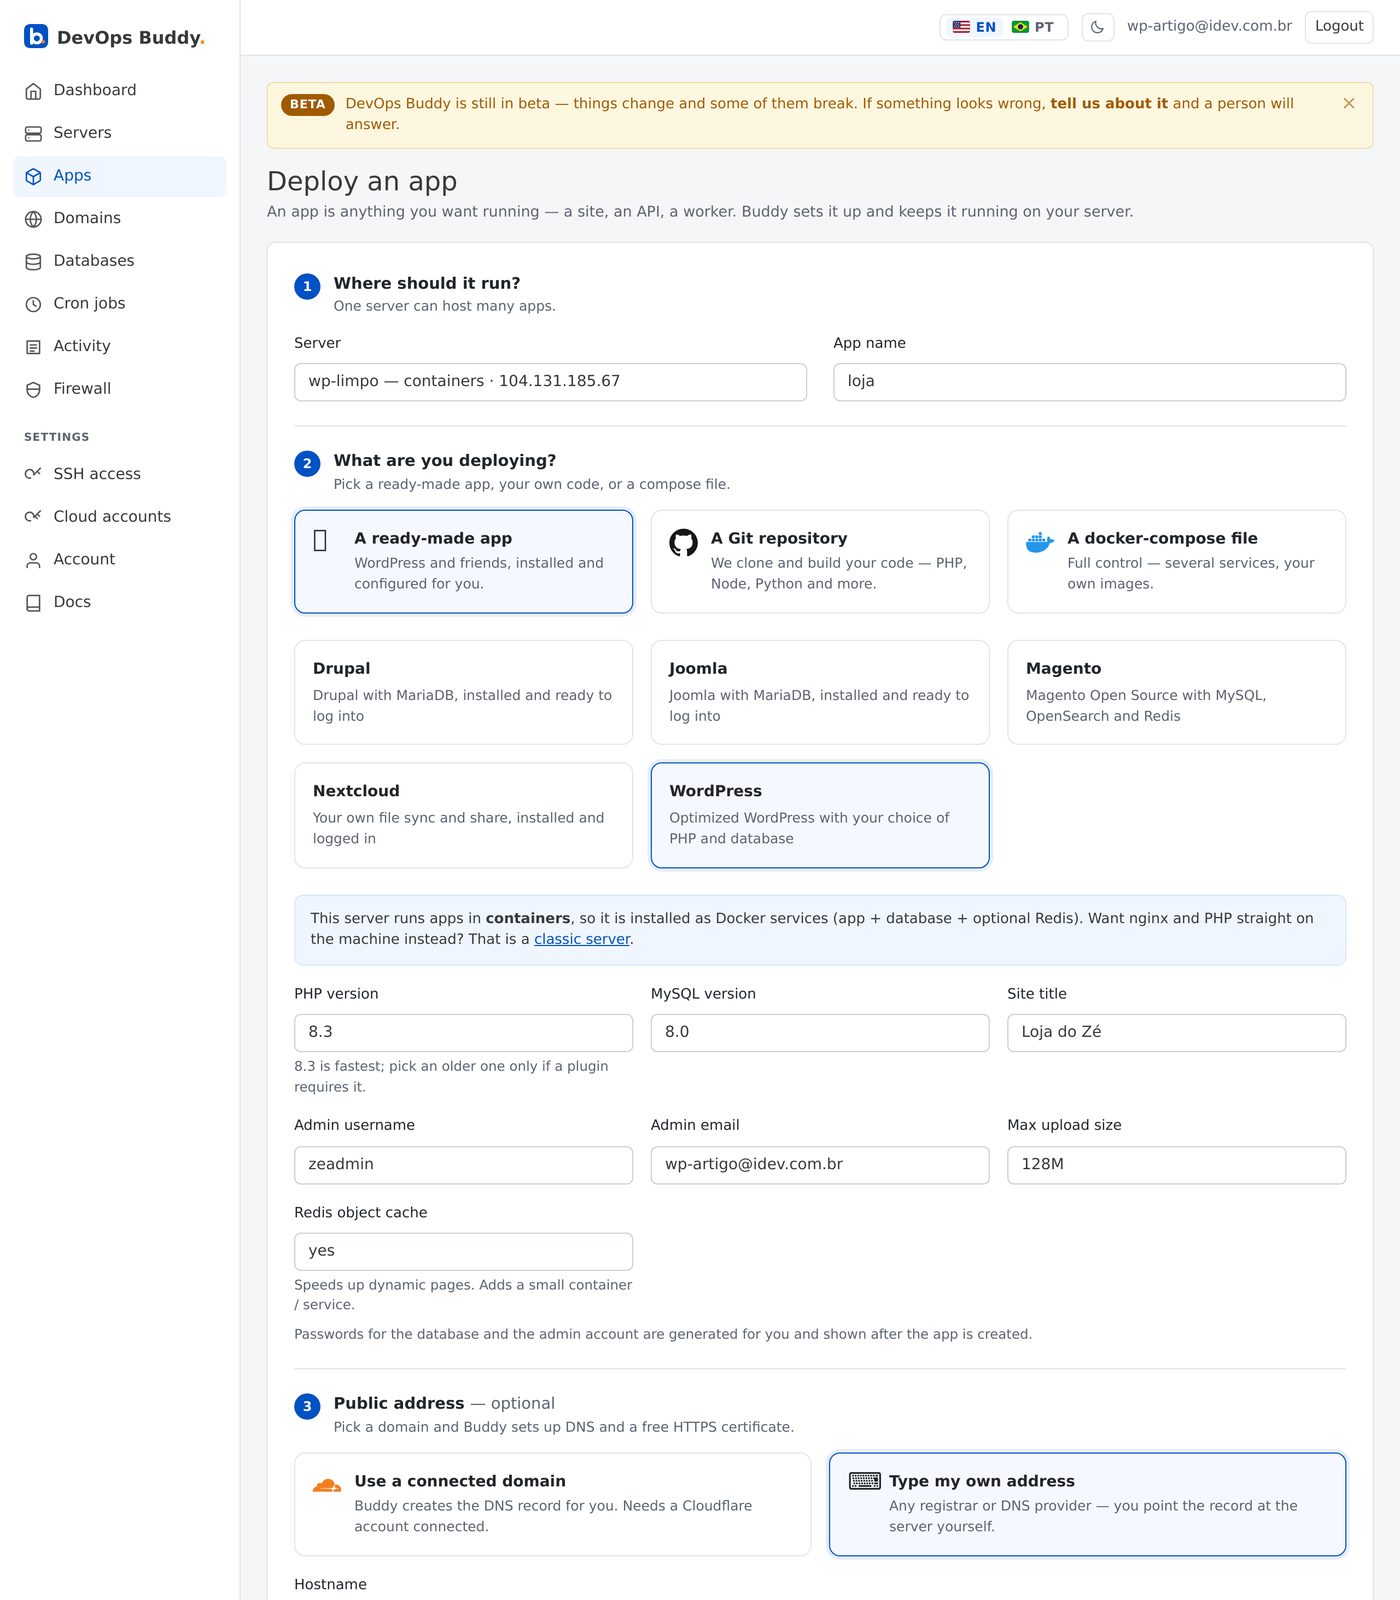
Give the site a title, an admin username and an address. The PHP version, the upload limit and the optional Redis object cache are all here rather than in a config file you would have to find later.
4. Deploy
One click. The images are pulled, the containers start, WordPress is installed — not left on its five-minute setup screen — and Traefik gets a Let's Encrypt certificate for the address.
One minute and thirty-eight seconds from pressing Deploy to a running site.
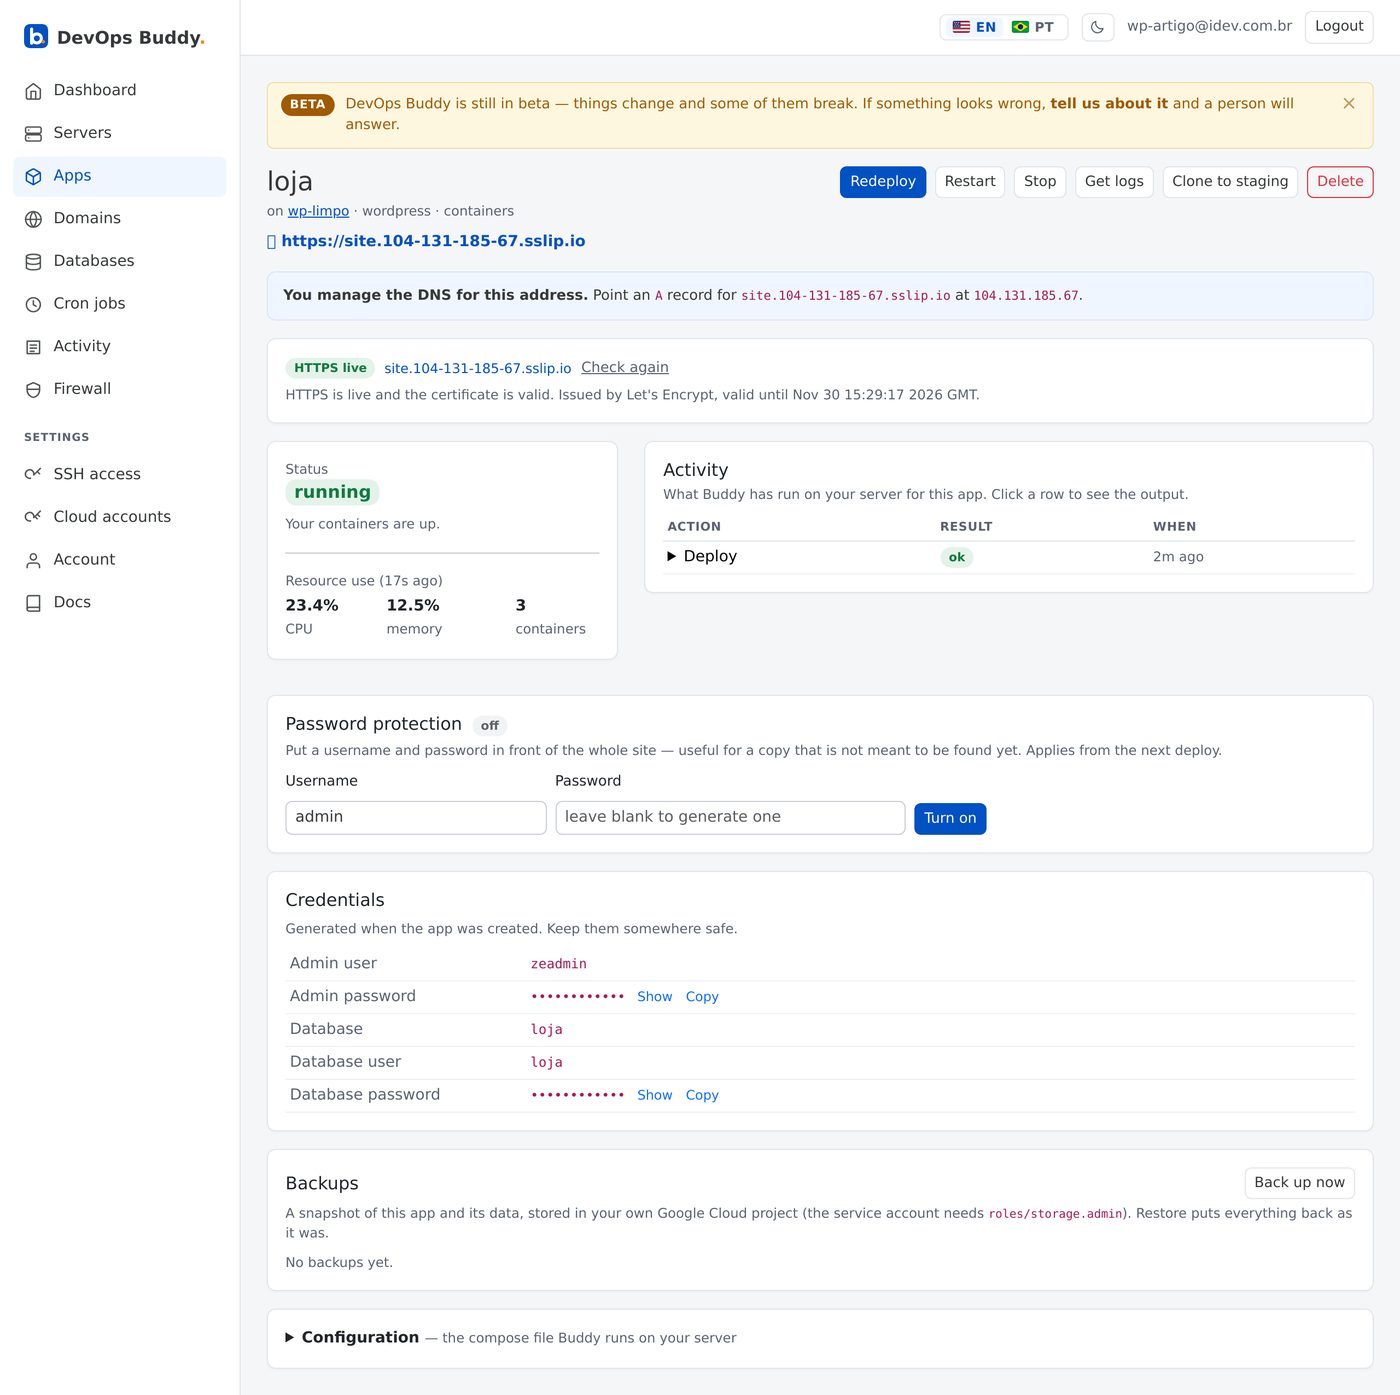
The admin password was generated and is on this page. So are the database name, user and password — useful later, and not something you have to go and look for on the server.
The result
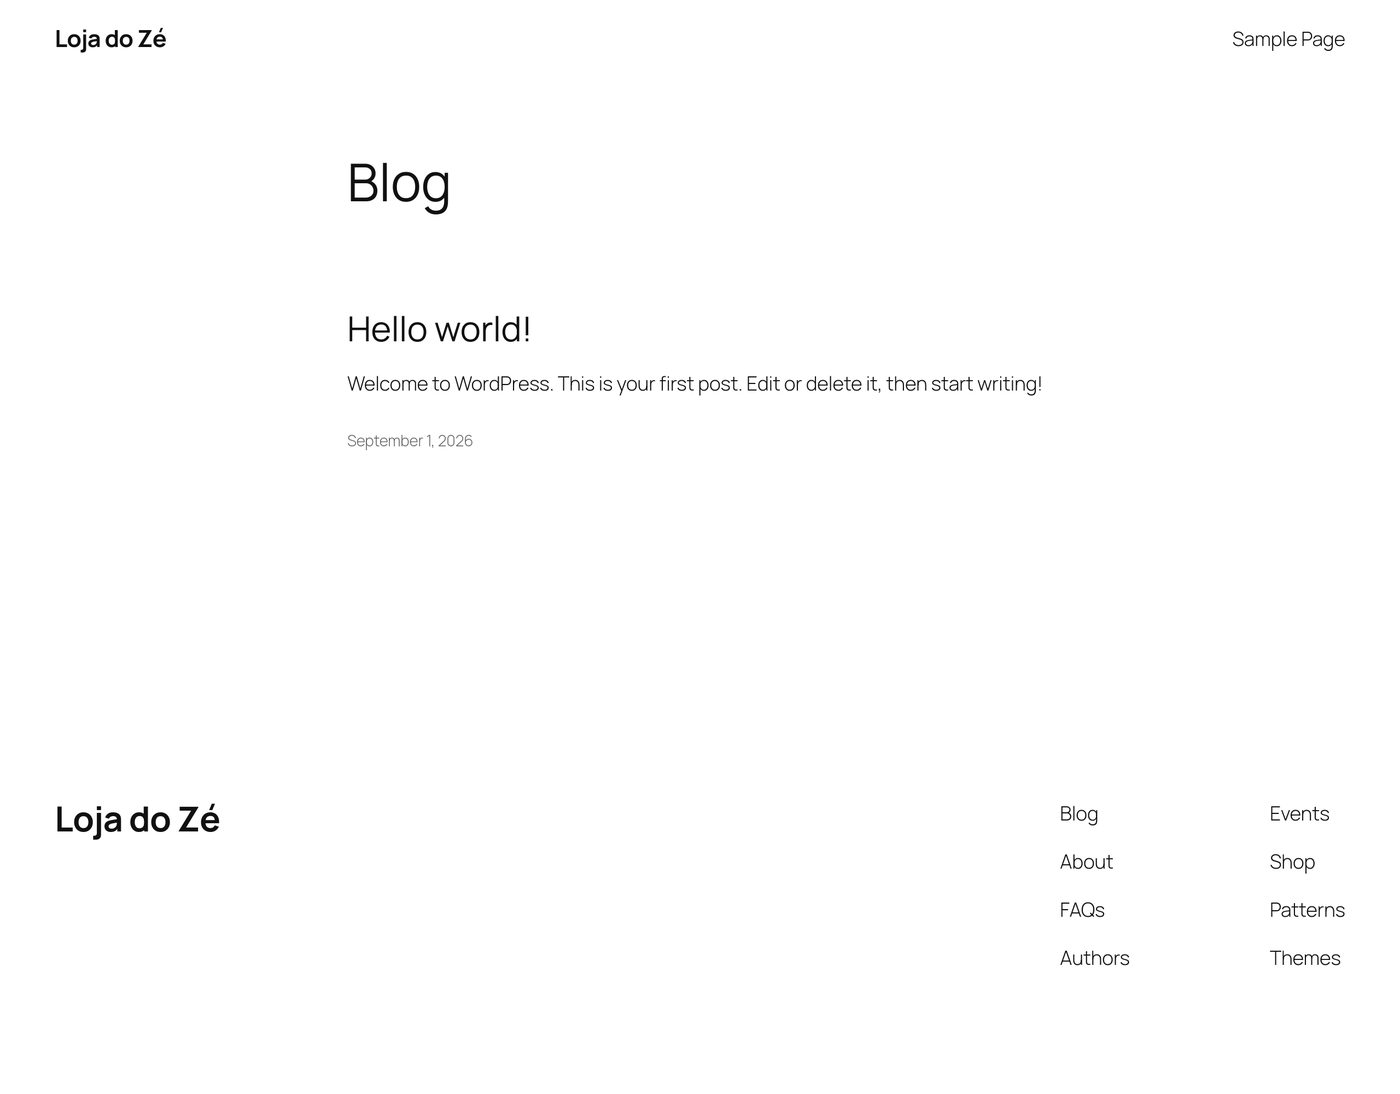
A working site, not an installer.
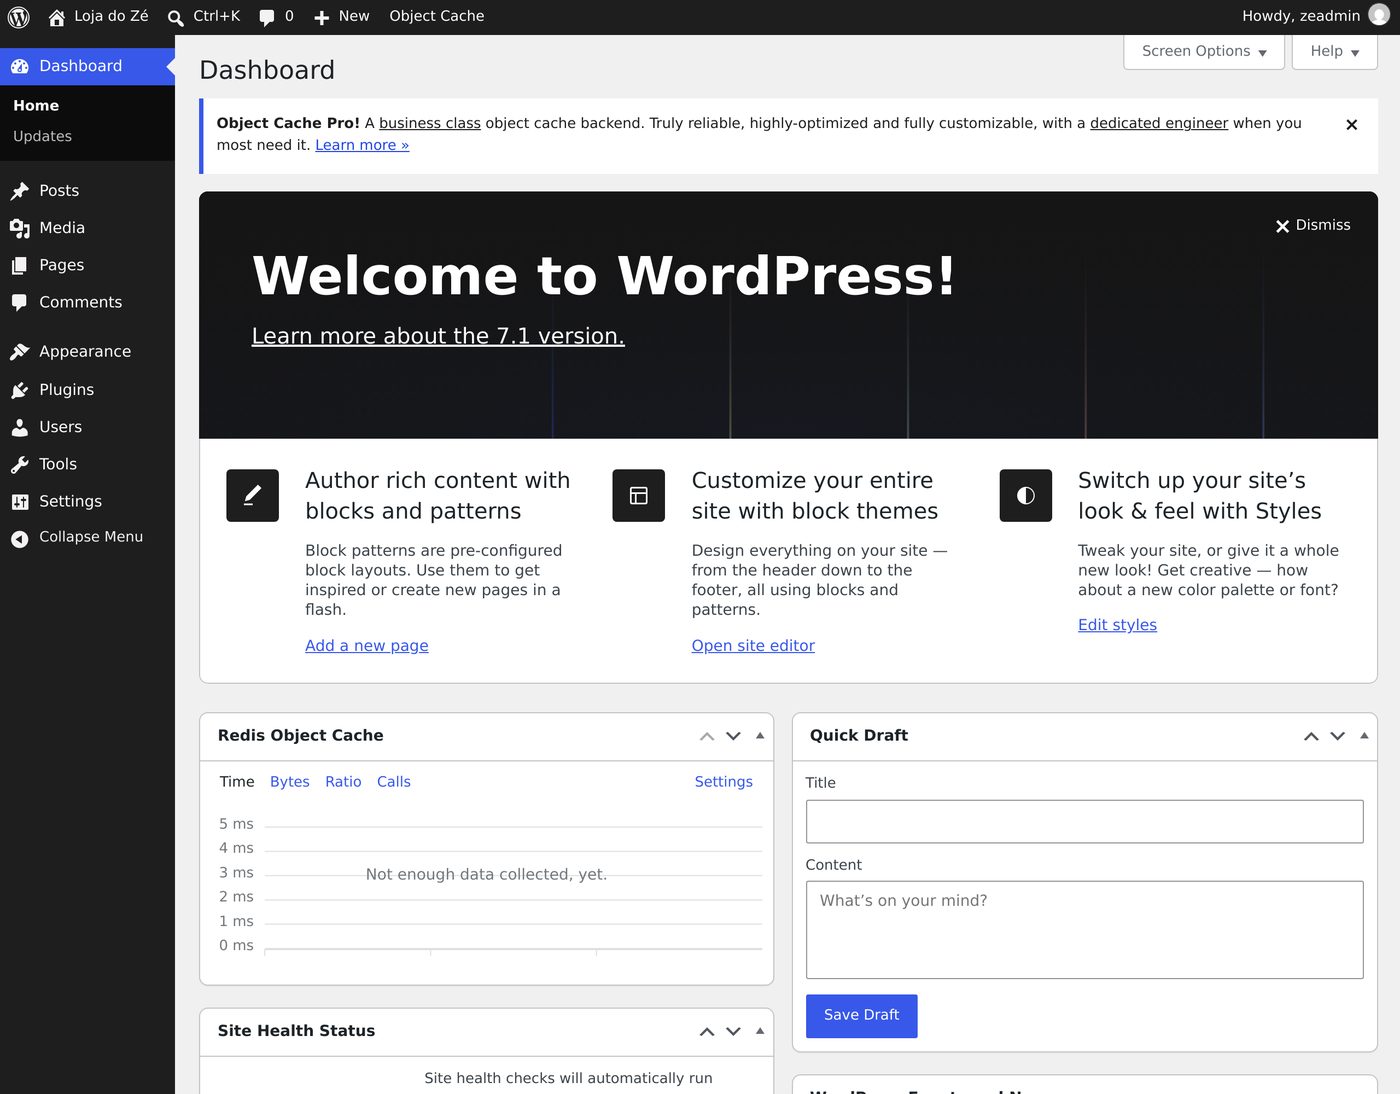
And the admin, with the account already created:
What it costs
Nothing to us during the beta. DigitalOcean charges you for the droplet — the 2 vCPU / 4 GB machine used here is about $24 a month, and a $6 machine is enough for a single small site. That bill is between you and DigitalOcean; we never see it and never mark it up.
What you can do next, without leaving
Add a domain of your own and Buddy will point the DNS and get the certificate. Clone the site to a staging copy with its own subdomain. Put a password in front of it while it is unfinished. Back it up to a bucket in your own cloud project. Add a cron job. Give a colleague their own login instead of sharing root.
And if you ever want out: the site is an ordinary docker-compose project in
/var/lib/buddy/apps/. Stop using Buddy and it keeps running exactly as it is.
Deploy your first app — free during the beta
Running this on your own cloud takes about ten minutes. Get started free